19 R Markdown
R Markdown allows you to create documents in a programmatic fashion that lends itself towards reproducibility. This chapter will cover the different formats that are available in R as well as how to create them.
19.1 Format Options
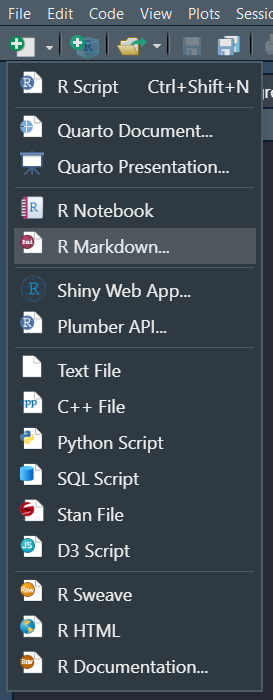
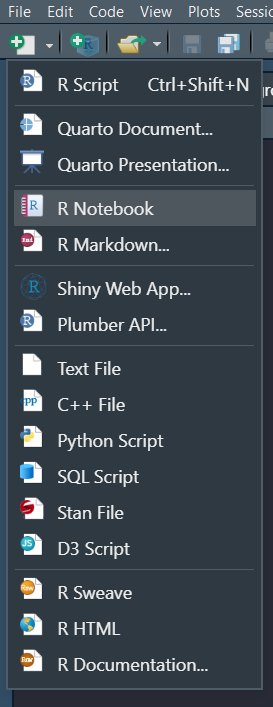
We’ll begin by creating a new document by selecting the “New File” button towards the top left corner of R Studio and choosing “R Markdown” from the dropdown menu.
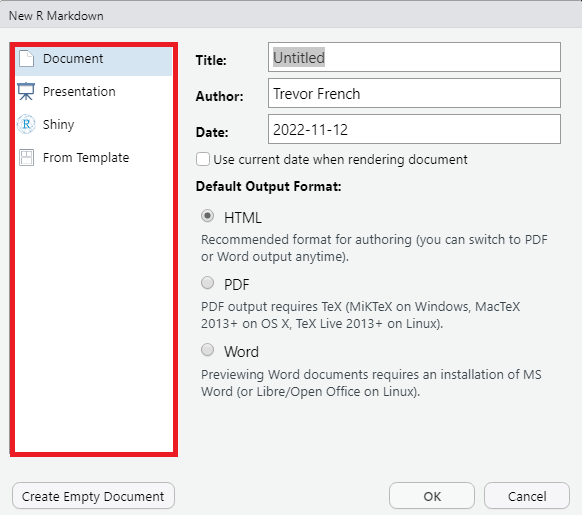
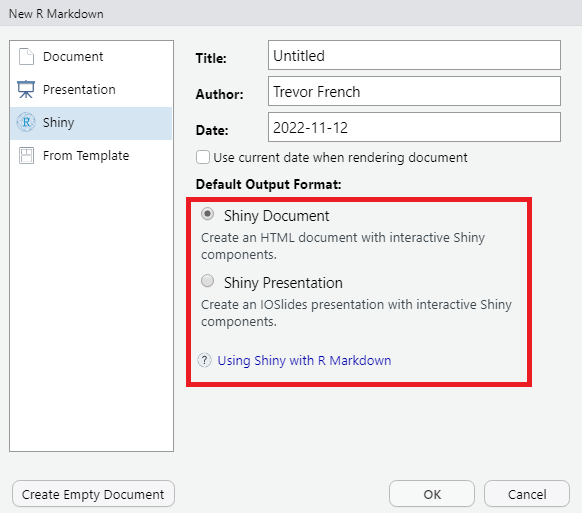
This will display a menu that looks like the following image.

You’ll notice that you have four main options on the left-hand side: “Document”, “Presentation”, “Shiny”, and “From Template”.
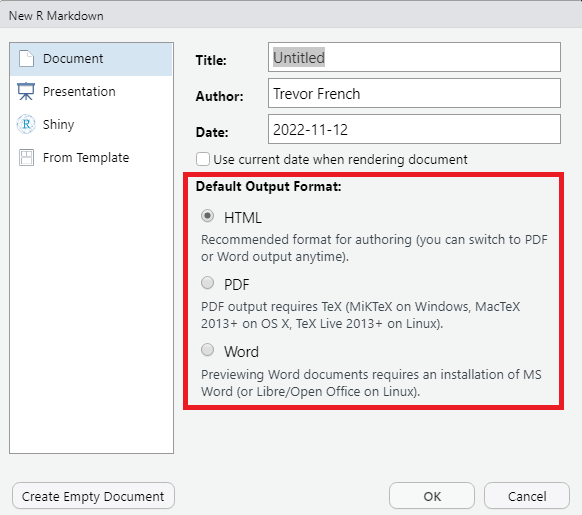
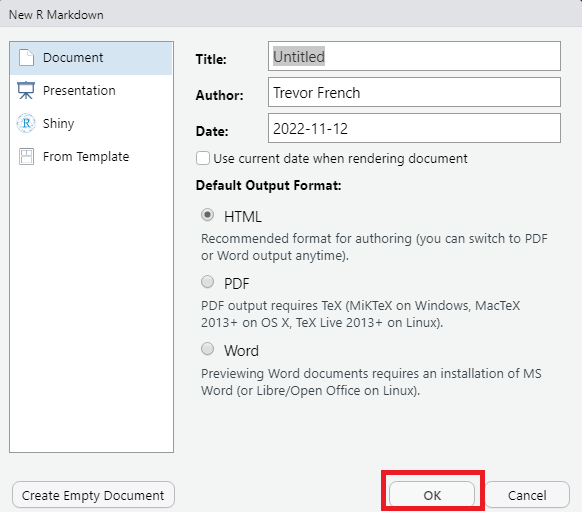
Each of these options will have several sub-options. The “Document” option, for example is selected by default and you can see there are three sub-options on the right-hand side: “HTML”, “PDF”, and “Word”.
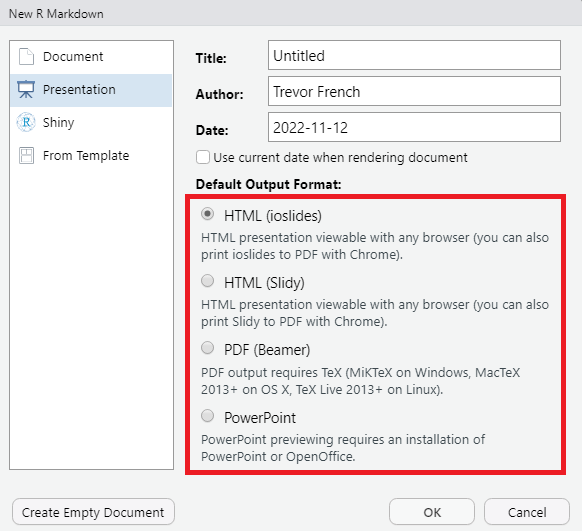
The “Presentation” option allows you to create slide-based presentations in either HTML, PDF, or PowerPoint format.
The “Shiny” option allows you to create either presentations or documents which include interactive Shiny components.
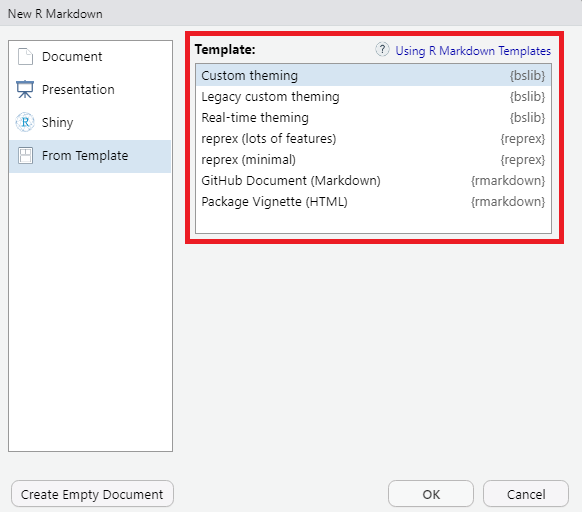
Finally, the “From Template” option will display several options for you to leverage pre-made templates.
19.2 HTML Document Example
Let’s choose the HTML sub-option from the Document option and select “OK”.
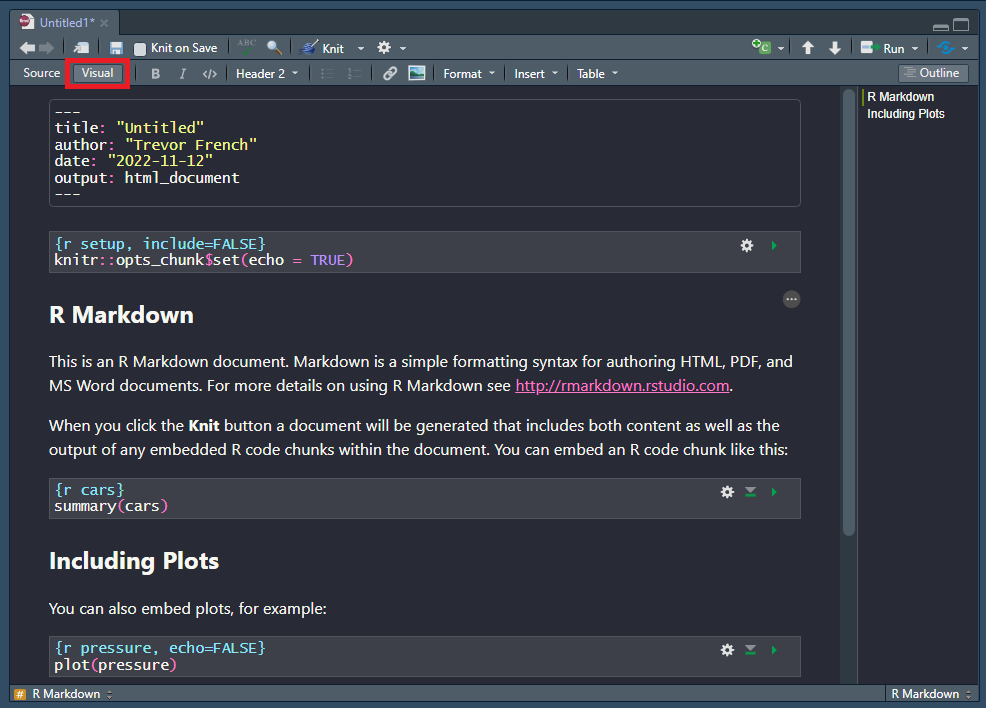
This will result in a new file in your source pane that looks similar to the following image.
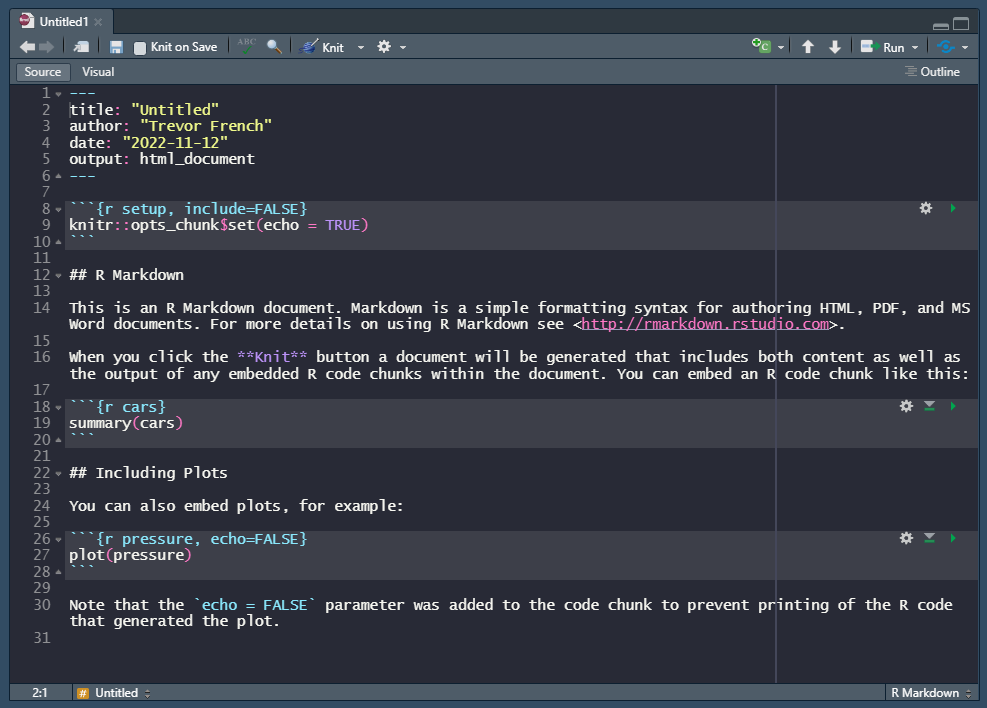
You can either continue to edit your document with markdown code or you can select the “visual” option towards the top-left corner of the source pane to have more of a traditional text editor experience.
Finally, we can render our document by selecting the “knit” button.
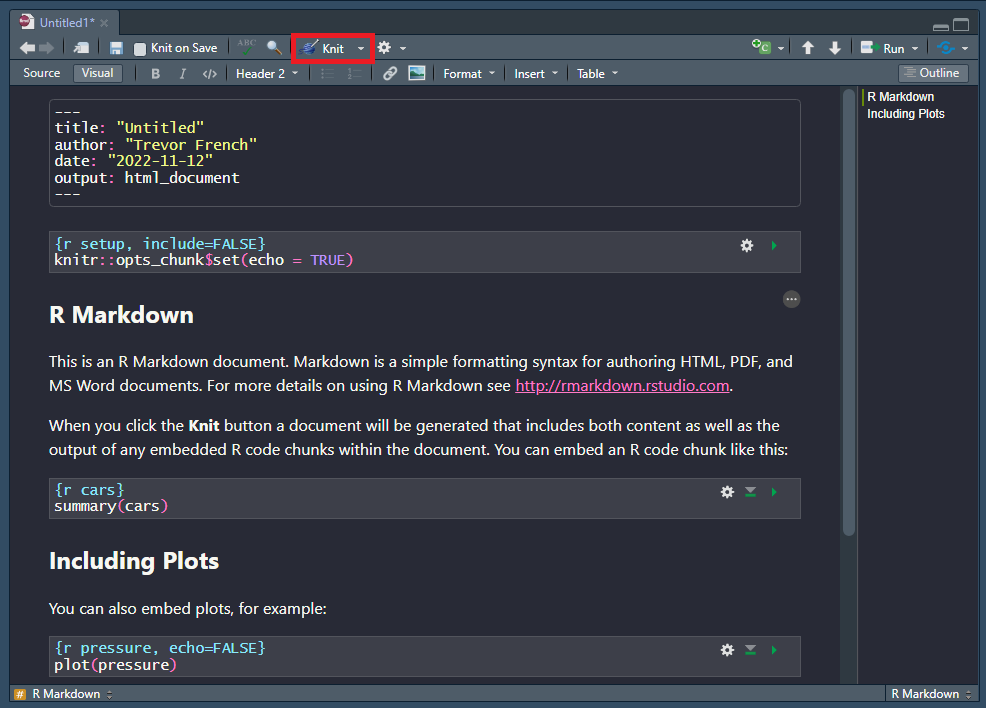
Selecting this will prompt you to save your file. After you do so, your rendered document will appear in your viewer tab.
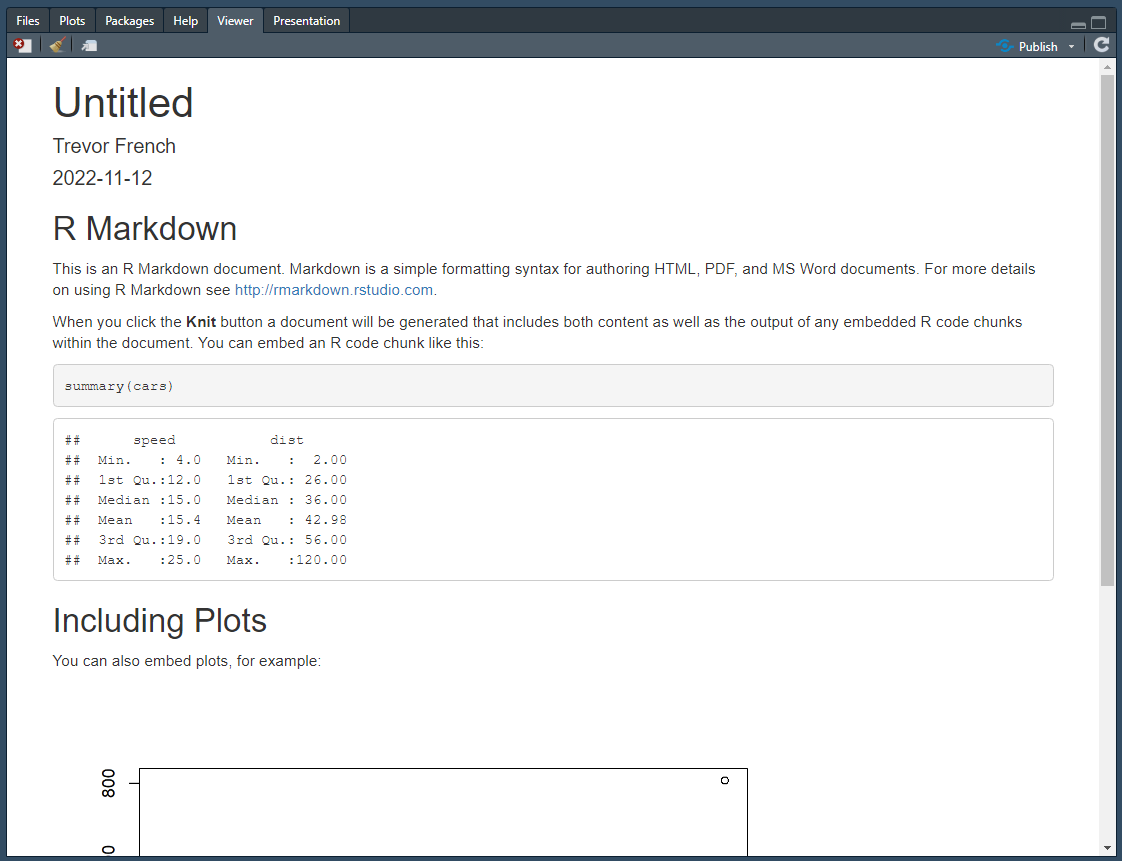
In addition to the preview being displayed in your viewer tab, you should now also have an HTML file located in the same place as you saved your R Markdown file. You can select this file to preview it in your browser as well as send it to others for them to preview.
19.3 R Notebook
Another subset of R Markdown is R Notebooks. There is a lot of crossover between regular R Markdown documents and R Notebooks; however, R notebooks will generally be used for more technical audiences such as other R users or even just to organize your own thought processes while coding.
Let’s try creating a notebook by selecting the “New File” button towards the top left corner of R Studio and choosing “R Notebook” from the dropdown menu.
This will generate a new file in your source pane that looks like the following image.
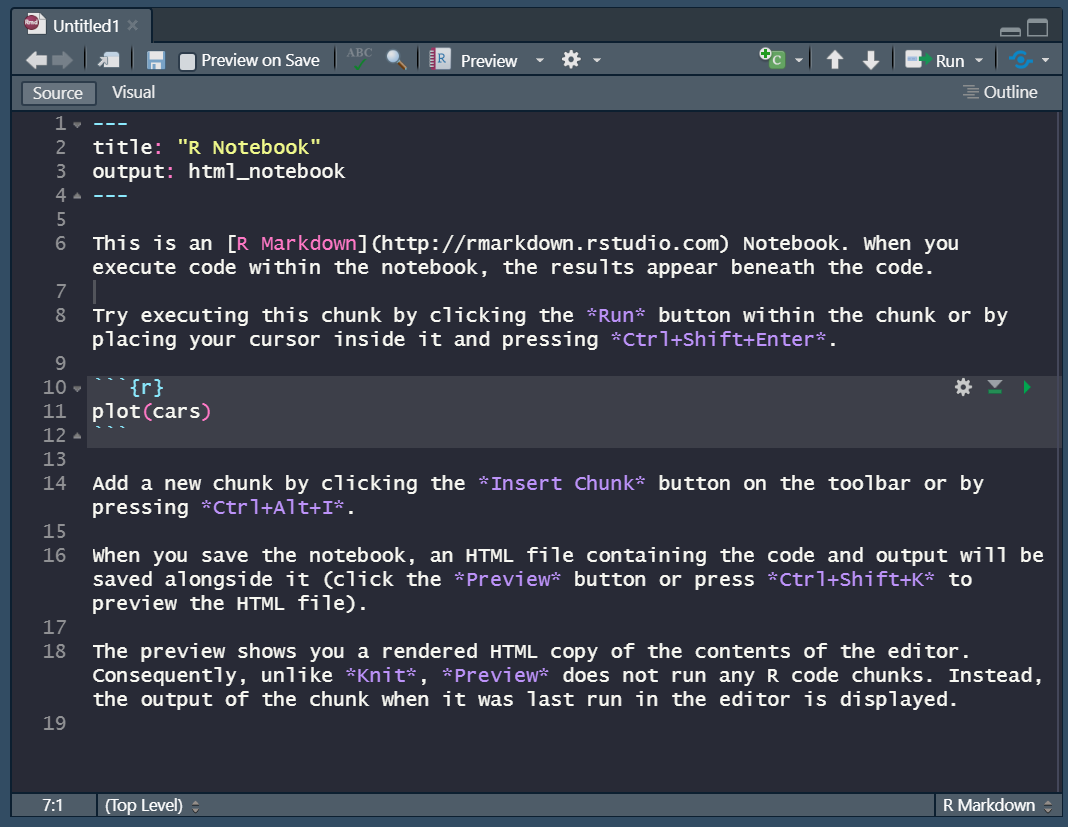
You’ll notice that there is no “knit” option like there is in an ordinary R Markdown file. This is because this file is meant to be shared in its current format rather than as a rendered document. The “knit” option is replaced by a “preview” option. Selecting this option will result in the following output.

This generates a preview of your file in the viewer tab. You may also notice that the output of the plot(cars) code has not been rendered in the preview. This is because code has to be explicitly run in R Notebooks in order for it to be displayed in the rendered preview.
Let’s run the code by pressing the green play button inside the code chunk.
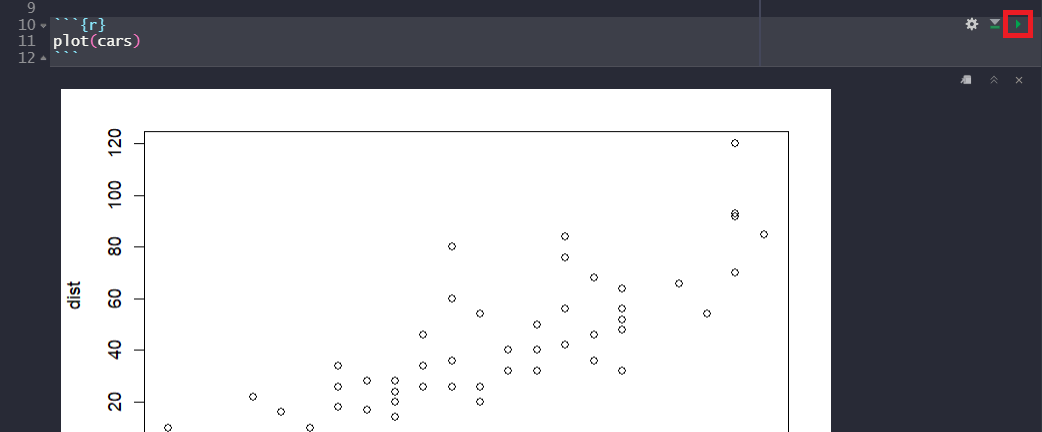
Now if you preview the notebook again you’ll see the plot output included.

19.4 Resources
- “Document Templates” from “R Markdown: The Definitive Guide”: https://bookdown.org/yihui/rmarkdown/document-templates.html?version=2022.07.2%2B576&mode=desktop
- R Markdown Formats: https://rmarkdown.rstudio.com/formats.html
- R Markdown Home Page: https://rmarkdown.rstudio.com/
- R Markdown Notebooks: https://rmarkdown.rstudio.com/lesson-10.html